Thursday, August 29, 2013

Native vs Mobile Web vs Hybrid applications

We have decided on developing a mobile application, but what type of application ?

There has been an ongoing debate with legitimate pros and cons of developing a Native app or a mobile web app or a Hybrid app.

What are the differences between these types of apps?

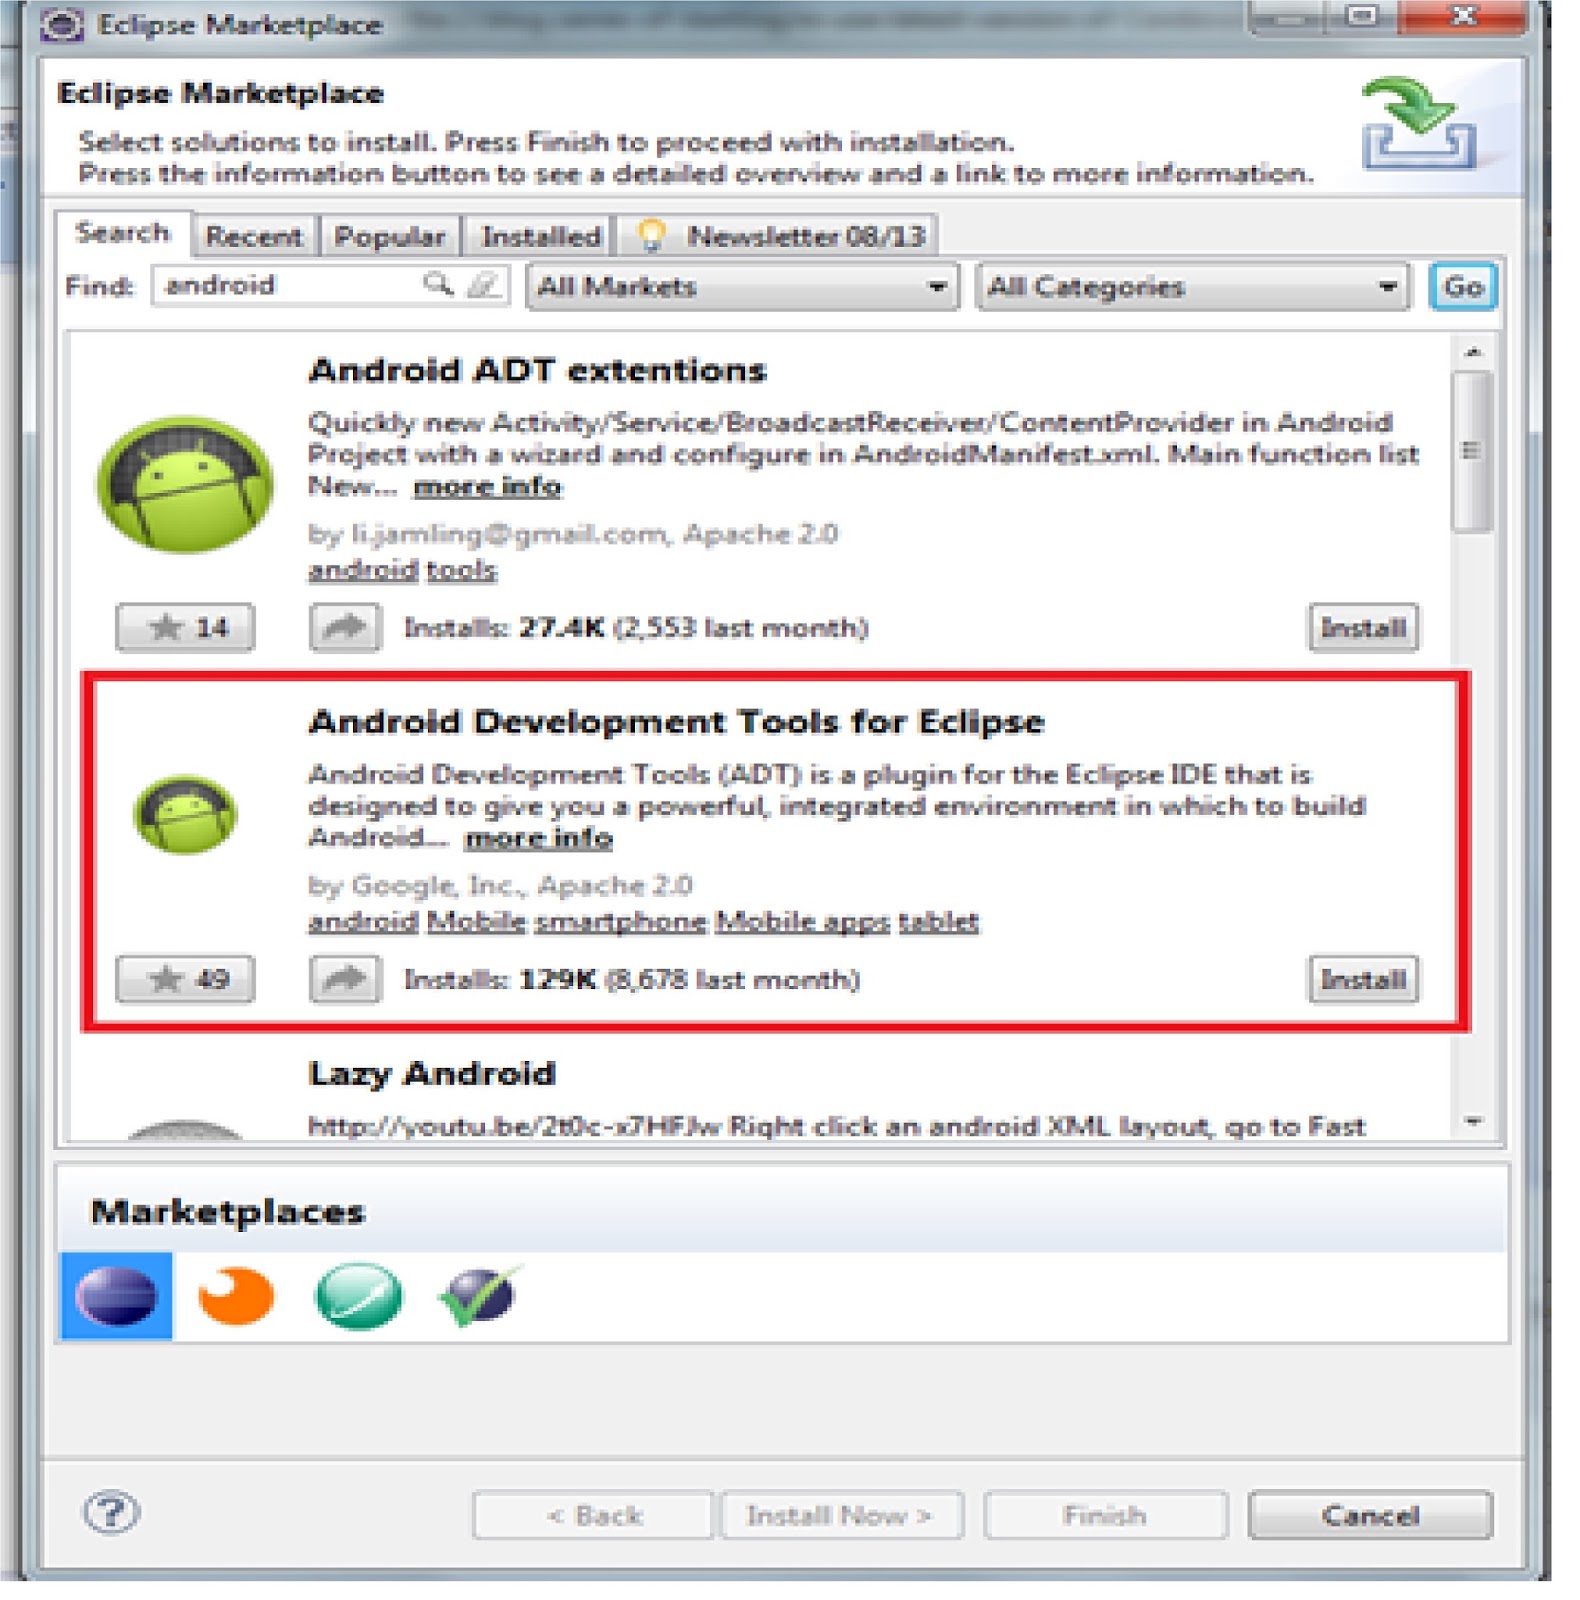
Native apps are built using the development tools and languages (XCode and Objective C for iOS apps, Eclipse, Android Studio and Java for Android, Visual Studio and C# for Windows) that the respective platforms support and so run only on their targeted platforms.

HTML5 apps are cross-platform mobile applications that run on multiple devices since they mostly run on browsers. Developers can write complex apps using standard web technologies HTML5, Javascript and CSS.

Hybrid apps are the applications that are developed using HTML5, javascript and css, but run with in webview container on the devices and so the applications are packaged natively and so has access to native API's of the OS also.

 Like in all language wars, there is no one answer for all the questions.

It depends on what your application is offering, what is the expectation of the users and what are your core development strengths.

Native Applications


Pro:

  • Native apps have the best performance and use the last available hardware resource to improve performance.
  • Applications will work in offline mode.
  • The apps are distributed through platforms App store providing better visibility to the prospective users.
  • Your application will have access to the latest API’s, releases on that platform.
  • The apps are built in languages the platform supports and so, has access to IDEs which provide the best tools to develop, debug the project fast. iOS app can be built in objective C on XCode which has all the tools to debug, design the interface, and check the performance using Instruments etc.
  • Linkedin is one example which shifted over to Native from HTML5.
  • And there is Facebook too, which took a U-turn.

Cons

  • You need huge budgets to support all the platforms that have considerable markets.  You will need to maintain multiple teams, one team per platform you want to support. So basically each team will replicate the same functionality in their platform.
  • App updates needs to be downloaded by users and so you end up maintain several versions of Apps on your web server if not properly designed.
  • Availability of developers for ramping up is another concern. When objective C suddenly revived after release of iPhones, there are not enough good developers ready.  May be the developers can be trained , but it is not feasible for small and medium head count companies and even in bigger companies where the training is feasible, the developers trained are not going to be at the same level of expertise they were on the technologies they are working on.


HTML 5 Mobile web app


Pro

  • HTML5 mobile app is similar to a normal web app, except that they are designed to work at smaller screens.
  • The distribution of these apps is very easy. You just deploy the web app on your web server and users access it from their browsers.
  • There are some very good mobile UI frameworks like JQuery Mobile, Sencha Touch and of course my favorite mgwt which provides several widgets for mobile.
  • These apps can probably reach out all platforms since they run on browsers and all the modern smart phones have a browser.
  • The development and testing of these apps is easier as they are similar to normal web apps where you have tooling support.


Cons

  • These apps don’t have access to the native functionality.
  • Performance doesn’t match with native apps.
  • These apps don’t work in offline. Actually works in offline mode, but that doesn’t match what native apps provide.


Hybrid Apps


Pro:


  • Hybrid apps are faster to develop since most of the development is done is web technologies which are cross platform and do very small amount of native coding, only when access to native layers is required. So only small portion of the code needs to be re-implemented for other platforms .This saves development time and cost and you can concentrate on developing new features rather than replicating the same features on each platform.
  • You are near to ‘Write Once, Run Anywhere’, the strategy that made Java such a dominant force.
  •  The tools for building Hybrid apps are not mature enough when compared to their counterparts on native apps. The situation is changing rapidly and soon there can be some good tools which support development of cross platform Hybrid apps.
  • These applications can be deployed in platform specific app stores.
  • Hybrid apps provide good and bad of both native apps and HTML5 web apps.
  • They can access the native layers.
  • These apps can work in offline mode.
  • Netflix is one cool example which runs the same code base against all the devices.
  • Gartner predicts by 2016 more than 50 % of the apps deployed will be Hybrid apps.


Cons:


  • Hybrid apps, even though are packaged natively are not native apps. They execute on the platforms web engine, Webkit in case of Android and iOS which is another layer between the user and the application and so the performance can’t match the native apps.
  • Since Hybrid apps are normally built using standard web technologies, there will be huge pool of developers available for ramping up. This is not the case with native apps.


If you are building productivity apps , Utility apps or Enterprise apps, Hybrid apps are for you. 

If you are building games or photos, videos related app then Native apps are the way to go. 

If you are building apps which need to work in real time, which doesn’t need access to the native layer and is not performance stressed, then html5 mobile web apps are the way to go.

So the decision needs to be done based on what type of application you are building, what is the development cost and time that can be offered.


Wednesday, August 28, 2013

Setting up Apache Cordova iOS project on XCode

In the previous blogs we have seen how to set up a mgwt project on eclipse, Apache Cordova Android project on eclipse and Apache Cordova Android Project on Android Studio.

Now we will move to setting up an Apache Cordova iOS project on XCode. XCode is the default IDE Apple provides for developing iOS applications.

First we need to install XCode from Mac store. Just search for XCode and click on Install.

For creating a Cordova project we need to install nodejs and also cordova. So we need to repeat these installation steps on your mac also , if nodejs and cordova are not already installed on your mac.

Install NodeJS


Download the latest version of nodejs from the below link and install the nodejs library.

http://nodejs.org/

Then run the below command.

npm install -g cordova

Some times this command fails to run as it requires root or administrator privileges to install cordova for all the users using the mac. If you face any issues with root or administrator privilege, run the below command.

sudo npm install -g cordova


One the cordova installation is completed, we can create a cordova project.

Create iOS Project


Create an Apache Cordova iOS project running the below command.

cordova create IosCordovaTestApp


Now change to the project directory that was created in the previous step.

cd IosCordovaTestApp


Now add ios platform to the project created.

cordova platform add ios


Now we have created a cordova ios project, we will import it into XCode.

Configure in XCode


Launch XCode, and click on Open to import the project that is created.

Select the project, click on 'Open'.


Browse through the project you have created, IosCordovaTestApp --> platforms --> ios and select.


Once the project is imported, we can run it in an Simulators.

Simulators are available beside Stop button on the left corner of the XCode.


Click on Run button which will compile the application, launch the simulator, deploy the application in simulator and run the application in the simulator.


Once the simulator is launched and application is installed, we can see the Apache Cordova iOS project launched which will display a screen above.

We have just created a blank project and so this is fine for now.

Later we will modify the project with our changes and view them running the simulator.

We have completed setting up all the required tools and environment to build a cross platform mobile application. So in the next blogpost we can start building a demo app and run it on different mobile OS.


Monday, August 26, 2013

Configuring Apache Cordova Android project in Android Studio

The earlier blogpost describes setting of Apache Cordova Android project in eclipse.

There is another good tool Android Studio along with Eclipse for Android development which we will be looking at in this blog post. If you want to continue using Eclipse only as your IDE you can skip. And if you want to try out Android Studio, continue following this blog post.

Android Studio Installation


Android Studio is the latest development built on top of Intellij IDEA. Android Studio is integrated Android development IDE which includes all the required developer tools for development and debugging of Android Applications.

Android Studio is currently available as early access preview.


Download the latest version of Android studio from the below website.


Launch the downloaded EXE file, android-studio-bundle-<version>.exe.

Follow the setup wizard to install Android Studio.

As of now there is no direct way to create a Cordova Android project for Android Studio.

So we will have to create a Cordova Android project for eclipse and port it to Android Studio.

Exporting from eclipse


Please check your Eclipse ADT plugin version. If the version is older than 22.0, upgrade it to the latest version.

 In Eclipse, select File > Export.


In the window that appears, open Android and select Generate Gradle build files.


Select the project you want to export for Android Studio and click Finish.


Your selected project remains in the same location but now contains a build.gradle file and is ready for Android Studio.


Importing into Android Studio


Launch the Android Studio IDE with Administrator role. Right now there are some permission issues with user roles other than Administrator which is expected to be fixed in the next version of Android Studio (0.2.6).

Click on Import Project.


Locate the project you exported from Eclipse, expand it, select the build.gradle file and click OK.


In the following dialog, leave Use gradle wrapper selected and click OK. (You do not need to specify the Gradle home.)


It will take some time to complete the import since it will do the necessary downloads for Gradle if you are using Android Studio for the first time. Also,it will take some time to complete the indexing of the files. Android Studio is slow in doing this.

Running Project from Android Studio


Once the project import is completed, click on the run button in the menu bar.


Android Studio will ask for the device in which the application needs to be launched from the list of AVD's available on your system.


Select the emulator on which you want the application to run and Android Studio will launch that emulator, install the application into that emulator and will run the application in the emulator.


We have just created a blank Cordova Android project and so will just see the screen above. In the later posts we will modify the project and view the changes in the emulator.

Sunday, August 25, 2013

Creating a cordova 3 android project on eclipse


In the earlier blog of this blogpost series we have installed the necessary tools to build a cross platform mobile application in java. In this blogpost, we will create a cordova android project and configure it in eclipse.

Earlier Cordova library by default has all the APIs supported by Cordova even if they are not used in your project.  This resulted in unnecessary upgrades; huge file downloads to client etc. The recent release of Cordova addresses these issues.

Now Cordova 3 introduces a new unified project structure and ships with a very limited core API. You need to import the API’s that are required for your applications. So the Cordova library used in your application is light weight and improves performance .Also,the size of the javascript libraries is less, and there won’t be any unwanted upgrades unless the API you are using is changed.

This release provides 2 new tools, Cordova and plugman. Both of these are implemented using NodeJs and so are distributed via npm. The Cordova command line tool unifies all platforms supported by Cordova into a single project structure. And plugman provides automated discovery, installation, and removal of core plugins provided in Cordova itself in previous releases and also custom plugins from git.


 Follow the below steps to create a Cordova-Android project.

Installing NodeJs

  • Install nodejs from the below link, if it is not already installed on your system.

                            http://nodejs.org/
  • Download the installer, and double click on the installer. The installer provides guidance on the next steps to install.
  • Once the installation of nodejs is completed, open command prompt and type the below command to check the installation.

                            npm –version


  • It should show some version number like 1.3.8, if nodejs is installed correctly.
  • If nodejs is installed, run the below command to install cordova.


                   npm install -g cordova
  • Also install the plugman tool running the below command:

        npm install -g plugman.
  • It will take some time to download the required packages and complete the process.
                    Cordova create AndroidTest
           
            Where
            AndroidTest is the name of my project

  • Then change to the working directory to the project directory.

Cd AndroidTest
  • Run the below command in the command prompt

       cordova -d platform add android


  • So I have created a cordova project for Android.

  • After adding the android platform, Run the below command to build the App.

         cordova build
  • Launch the eclipse IDE and select New Project.


  • Select Androidà Android Project from Existing Code in the ‘New project’ window and click on Next.


  • After importing the project, you may see some compilation errors like the below ones.

      error: Error: String types not allowed (at 'configChanges' with value 'orientation|keyboardHidden|keyboard|screenSize|locale').
                   error: No resource identifier found for attribute 'hardwareAccelerated' in package 'android'


  • The following compilation errors are observed intermittently.
             DroidGap cannot be resolved to a type

             Config cannot be resolved
             The import org.apache.cordova cannot be resolved
             The method onCreate(Bundle) of type HelloCordova must override or implement a supertype method

  • Ideally the project should compile without any issues. But looks like, there are some issues with the latest version of cordova.
  • If you don’t see the below compilation errors, just ignore the below steps and continue.
  • If you also observe the compilation errors like me, follow the below work around and vote to prioritize this issue fix to higher.

                      https://issues.apache.org/jira/browse/CB-4660
  • Right click on the project, select properties à Android and select the latest Android API version.

  • This will resolve the following compilation errors

      error: Error: String types not allowed (at 'configChanges' with value 'orientation|keyboardHidden|keyboard|screenSize|locale').
                   error: No resource identifier found for attribute 'hardwareAccelerated' in package 'android'
  • If you project has the below compilation errors, then please follow the below steps to resolve them are skip the below steps and launch the project.
              DroidGap cannot be resolved to a type

             Config cannot be resolved
             The import org.apache.cordova cannot be resolved             
             The method onCreate(Bundle) of type HelloCordova must override or implement a supertype method
  • These errors are seen if cordova-3.0.0.jar is not available in libs folder of the project. If the jar is already available, then these error wont occur.

  • You need to download Cordova Android code from the below link.

                   https://github.com/apache/cordova-android
  • Then run these commands to build cordova-dev.jar.

                  android update project -p . -t android-17
                  ant jar
  • This will create cordova-dev.jar.
  • Alternatively you can download the jar from the below link.


  • Copy cordova-dev.jar to libs folder in the Android project in eclipse and add it to the project classpath.
  • Now all the compilation errors will be resolved, and the project will compile successfully.
  • Now we will create an Android emulator. Run AVD Manager from programs.
  • If there are no Android emulators configured, the AVD Manager screen will look similar.


  • Click on New to set up a new Android emulator.

  • Select the Android version you want to use and provide a name for this Android emulator and click on 'Create AVD'.
  • This will create an Android virtual device.

  • Once a virtual device is added, you can see it in AVD Manager.


  • Now we will launch the Cordova Android project we created from eclipse. 
  • Right click on the project in eclipse--> and select Run as --> Android Application

  • The Android emulator we have created will be launched by eclipse.


  • Then the eclipse installs the application created using cordova in the emulator and launches the application.
  • If the application launches successfully without any issues, then the android emulator should show similar screen.
  • Since we haven't really coded any thing and the application deployed is just a blank project, cordova screen is displayed. We can later modify this with our code.

Saturday, August 24, 2013

Configuring a mgwt project on eclipse

This post is a part of blogpost series to show case building a cross platform mobile application in java using mgwt, gwt-phonegap and Apache Cordova 3.

Eclipse:


Download eclipse (Eclipse IDE for Java EE Developers) from the below link, if eclipse is not installed on your system.


Extract the downloaded eclipse zip file on your system.

GWT:


Download GWT SDK from the below link it is not already available on your system.


Download the latest version of GWT and extract the downloaded zip on your system. The extracted zip looks similar to the below screen shot.


Now install the GWT plugin for eclipse to your eclipse IDE.

Open your eclipse IDE and select Help à Eclipse Market Place

Search for GWT and select Google Plugin for Eclipse 4.3


Based on the eclipse version you are using you may need to select a different version instead of 4.3.

Click on confirm in the below screen and also accept all the license agreements shown during the installation process.


After the installation of plugins is completed, restart eclipse.

After restart you can see a new button at the top of the eclipse screen below the menus which provides options for GWT projects.


You will need GWT Developer Plugin to be installed on a browser to see your changes without recompiling every time. Since we are using mgwt which works with Webkit browsers, we will install the plugin for chrome.

Go to Chrome web store and search for GWT Developer plugin and install it.

Android:


Install the Android SDK from the below link, if it is not already installed on your system.

Once you download the appropriate zip file for your system and extract it, the contents should look similar to below.


Double click on SDK Manager.exe to launch the SDK manager.

SDK manager shows the list of available tools, installed tools and other information. The latest version of Android will be installed by default.
 If you need to develop the applications which are compatible with older versions of Android, you may need to install the old versions of Android also by selecting them and click on Install XX packages.
XX is replaced by number of packages that needs to be installed based on the number of versions you selected for installation.

During the installation you will require to accept the license agreements. Just agree to them and continue the installation.


We will need to install the Android plugin for eclipse.

So once again Open your eclipse IDE and select Help à Eclipse Market Place

Search for Android and select Android Development Tools for Eclipse and click on Install.


Confirm the features that need to be installed.

Accept all the license agreements and continue installing.

Restart eclipse after the installation is completed. After restart you can select NewàOther to see the new Android project resources that can be created which confirms that the Android plugin is installed successfully.


Maven


Download and install the latest version of maven from the below apache site, it maven is not already installed on your system.


Extract the downloaded zip and set the maven home as a system variable from System Properties à Environment Variables à System variables.


Add the maven bin path to system Path as shown in the below screen capture.

You need to add ;%M2_HOME%\bin to the existing path variables.


After the path is configured, open command prompt and run mvn –version to check the version of the maven installed.


Mgwt:


Now that we have installed and configured all the tools we need to build a mobile application, we will start creating a mgwt project.

The following sequence of steps will create a blank mgwt project with the recommended MVP architecture.

Run the following command inside the eclipse workspace.
mvn archetype:generate -DarchetypeRepository=http://www.m-gwt.com/m2/repo -DarchetypeGroupId=com.googlecode.mgwt.archetypes -DarchetypeArtifactId=mgwt-standard-archetype -DarchetypeVersion=1.0.8

This command will start downloading the required dependencies and create a project in the workspace. You need to provide a groupId, an artifactId, a package and the version information.


The groupId normally will be something like com.company name.project name.
The articfactId is a name which contains only characters (no minus, no whitespaces, etc.).
The version will be the version number of your application.
The package name is normally same as the groupid.
After the above data is entered, maven asks for confirmation of the data entered. Enter Y and press Enter. Maven will create a project with the parameters entered.


Now that the project is created, you need to configure your workspace. This step needs to be done only once per workspace when eclipse is not running. This will create variable M2_REPO which points to your maven repository to make the dependency resolution to work inside eclipse.
mvn eclipse:configure-workspace -Declipse.workspace="/path/to/your/workspace"
 

Replace “/path/to/your/workspace” with your actual workspace path.

Next, run the below command after changing directory into the generated project to create the project and the associated classpath file for eclipse from Maven pom.xml. Whenever the project dependencies change this command needs to be rerun.

mvn eclipse:eclipse


The web app from src/main/webapp needs to be copied into your target folder using the below command.
mvn war:exploded

Now we will import the project in eclipse.
Choose File à Import--> Choose General -> Existing Project into Workspace -> Next 


Navigate to the created project folder and choose open. Eclipse should now find the project, and you can import it.


Configuring GWT Eclipse plugin:

Right click on your project and select Properties.


Select Google and expand the node -> Select "Web Application"

Check the box "This project has a WAR directory" and choose src/main/webapp Uncheck the box "Launch and deploy from this directory" and Click Ok 


Running the mgwt project

Right click on the project -> Run As -> "Web Application" 


The GWT Dev Mode is now starting and you will be asked to select the war directory.

You need to choose target/"artifactId"-"version" as your war directory. (artifactId and version you chose when you created the project) 


Once the application is ready to launch in dev mode it will display an url in the Development mode window of the eclipse.

You can right click on the link and open it or copy the link and paste it in a browser for running.

You need to run this application in chrome since mgwt supports Webkit browsers which scale down to Chrome and Safari.


After the application is launched in chrome, you will see a vertical line. That is fine since we haven’t added any code, and whatever we are seeing is just a mgwt project template that is created.